
How to embed an image onto different sources
| May 4, 2023

Unfortunately, there’s no such thing as an ‘embed image’ button on your keyboard. Therefore you’re going to need to learn how to embed images – luckily it’s super easy if you just follow this guide. Here are some of the most common different ways to embed an image, presented in a very straightforward, step-by-step manner. This article serves as a complete guide to embedding images across various platforms.
Introduction to Image Embedding
Image embedding is a crucial aspect of web development, allowing developers to add visual elements to web pages. Embedding images can significantly enhance the design and appearance of a web page, making it more engaging and interactive for users. Whether you’re creating a blog, an e-commerce site, or a portfolio, embedding images helps to convey information more effectively and attractively. In this section, we will introduce the concept of image embedding, its importance, and the various methods of embedding images in web pages.
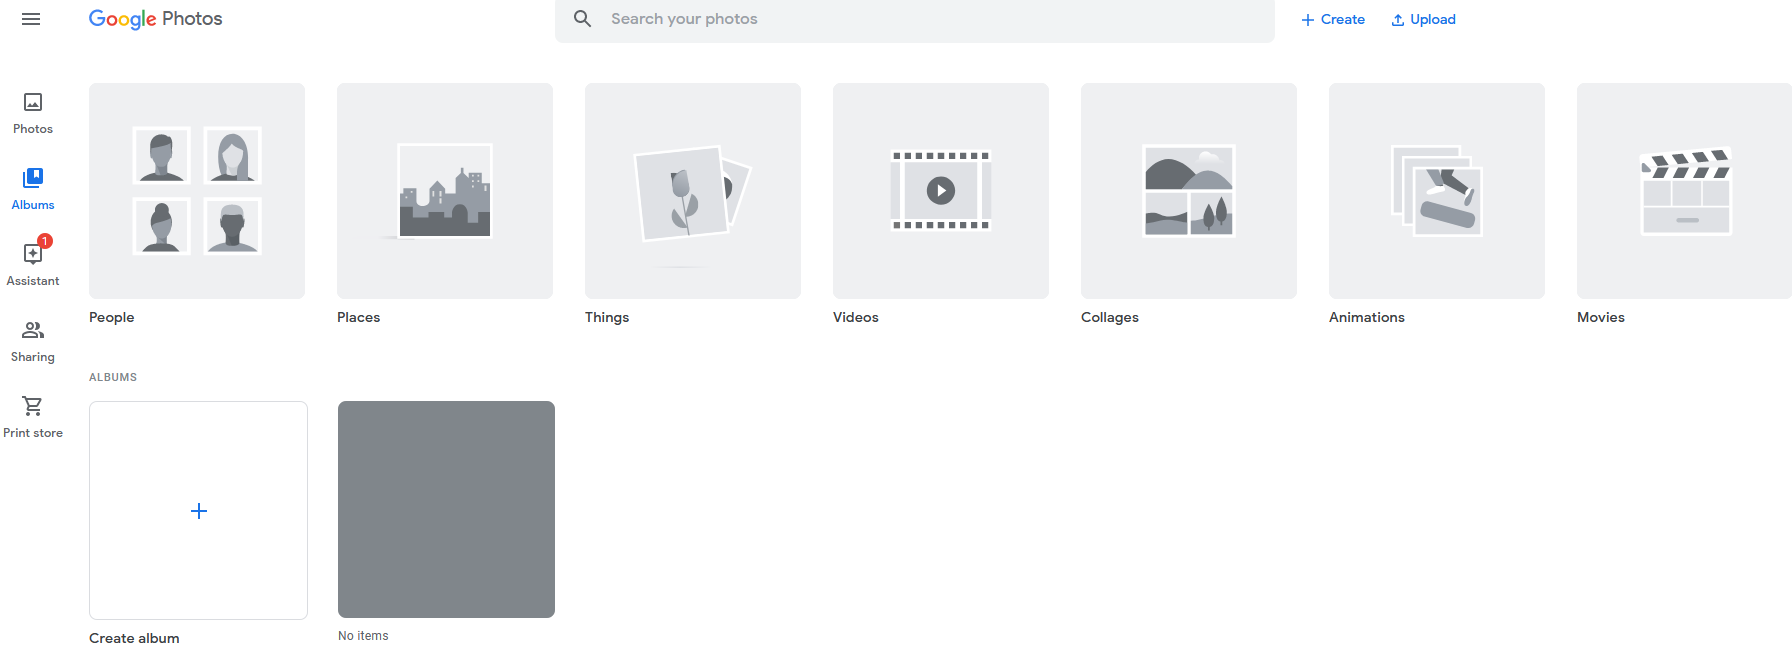
How do I embed a Google image?
If you have a lot of images stored on Google Photos, it’s easy to embed them into numerous websites. Here’s how:
- Open Google Photos
- Locate the image you wish to embed
- Click the image to open it
- Find the ‘share’ icon in the upper right hand side of the window
- Click the ‘create link’ button
- Copy the URL link and paste it to whichever location you wish
You can also use an embed code generator or open the site you wish to embed onto and paste the code (into a website, blog, etc.). This requires an extra step and an outside source, so only use this method if you don’t have direct access to Photos temporarily.
Into WordPress
WordPress is a content management system designed to publish media and text onto web pages and blogs. WordPress also supports drag-and-drop functionality, making it easy to upload images directly from your computer. WordPress makes it easy for users to add different kinds of digital images to sites and blogs. To embed an image using WordPress, simply place your mouse cursor in the desired location and select ‘Add media’. From the resulting popup window, locate the file you wish to add and you’re all set!
Into a Word Document
It’s easy to embed an image into your text on a word document, thanks to all the updates and upgrades over the years. For Microsoft Word, the most popular word document tool, it’s a simple process:
Unlike an attached image, which is added as a separate file, an embedded image is integrated directly into the document.
- Open the word document file you wish to embed an image into
- Place your cursor in the spot you wish to put the image
- Click ‘insert’ then click ‘pictures’
- Locate and select the image you wish to put into your document

Into HTML
HTML is the language used to create web pages. Chances are, at some point you’ll need to learn how to embed an image in HTML. Here are the necessary steps to accomplish this:
- Using the FTP utility of your webpage, upload the image
- Make sure your HTML tag reads < img src=”exampleimage” alt=”An image example” />. This HTML code ensures that the image is properly embedded within the web page.
- Transmit the HTML file of your web page. Inline embedding is a technique that allows images to be included directly within the HTML code, reducing server requests and improving load times.
Image Attributes
When embedding images, it is essential to understand the different attributes that can be used to customize the image display. The src attribute specifies the source of the image, pointing to the image file’s location. The alt attribute provides alternative text for the image, which is crucial for accessibility, as it helps screen readers describe the image to visually impaired users. The width and height attributes can be used to resize the image, ensuring it fits well within the layout of your web page. Additionally, the style attribute allows you to apply CSS styles directly to the image, such as borders, margins, and padding. Understanding these attributes is crucial for effective image embedding.
Image Sizing and Styling
Image sizing and styling are critical aspects of image embedding. The width and height attributes can be used to resize the image to fit your design needs. For instance, you can set the width to 300 pixels and the height to 200 pixels to ensure the image fits perfectly within a specific section of your web page. The style attribute can be used to apply CSS styles, such as adding a border or adjusting the margins and padding around the image. Additionally, the max-width property is particularly useful for responsive design, ensuring that the image does not exceed a certain width, making it adaptable to different screen sizes and mobile devices.
Into Illustrator
Illustrator is the Adobe design application used to drastically edit images with numerous tools and features. It hosts stored images that you can take and embed into your documents. Illustrator allows you to manage and embed various image files into your documents. Here’s how:
- Find the image from your links palette
- Select the dropdown menu
- Click ‘embed’
- Your image is in the document now
Depending on which source you want to embed an image with, there’s usually an easy way to accomplish it. Use this guide to understand the basics and the rest will come naturally. Finally, remember that there are usually alternative methods, so don’t resign yourself to one.
Best Practices for Image Embedding
When embedding images, it is essential to follow best practices to ensure that the images are displayed correctly and efficiently. First, choose the correct file format for your images. JPEG and PNG are the most common formats, with JPEG being ideal for photographs and PNG for images that require transparency. Optimizing the image size is also crucial to reduce loading times, which can improve the overall user experience. Using alternative text (alt attribute) is important for accessibility, as it helps screen readers describe the image to visually impaired users. Additionally, providing a link to the image can enhance accessibility and usability. Finally, consider the mobile device and screen size when embedding images, ensuring that they are responsive and adaptable to different devices.
Conclusion and Next Steps
In conclusion, image embedding is a vital aspect of web development, and understanding the different methods and attributes is crucial for effective image embedding. By following best practices and considering factors such as image sizing, styling, and accessibility, developers can create engaging and interactive web pages that enhance the user experience. For further learning, it is recommended to explore HTML tutorials and CSS properties to gain a deeper understanding of image embedding and web development. Additionally, experimenting with different image formats, such as GIF and PNG, and using tools like Microsoft Word and photo editing software can help developers improve their image embedding skills.